If you've ever built a prototype in Figma, you know the drill
You spend hours dragging noodles across your screen. Click, connect, adjust settings, repeat. Over and over again for every interaction, every state change, every animation.
It's tedious. It's time-consuming. And honestly? It's not the creative part of design that most of us actually enjoy.
Here's the thing
Prototyping matters. Showing stakeholders how an animation should work, demonstrating user flows to developers, testing ideas with real users. These are critical parts of the design process.
But the execution? Dragging all those connection lines around? That's just busywork.
Over the past few months, I've been experimenting with AI tools to automate the prototyping process. Not to replace the creative work of designing, but to handle the mechanical parts that eat up our time.
Some experiments worked beautifully. Others were frustrating disasters. But I've learned enough to share what actually works and what doesn't.
In this guide, I'll walk through
- Key AI terms you need to know (especially if you're new to this)
- Three popular prototyping tools I've tested and their pros and cons
- A real example of building a clickable prototype with AI
- Honest limitations you'll run into
- Practical use cases for integrating this into your workflow
Fair warning
This process isn't perfect. AI prototyping has real limitations. But if you hate connecting noodles as much as I do, it might be worth exploring.
This article is a condensed version of my video presentation below. I also do a live demo of building an AI prototype with Figma Make, which I reference later in this article.
Understanding the AI prototyping landscape
Before we dive into tools and demos, let's get clear on some terms. If you're already familiar with AI concepts, feel free to skip ahead. But if you're just getting started, this will help everything else make sense.
Key terms to know
Web 4.0 or The Agentic Web
This is the new paradigm shift in how we interact with the internet. Instead of clicking buttons ourselves, AI agents act autonomously to make decisions and complete tasks without constant human input.
Think of it like having an assistant who can actually take action instead of just providing information.
LLM (Large Language Model)
This is the type of artificial intelligence trained on massive amounts of data to generate and understand human language. Examples include Claude, ChatGPT, and Google's Gemini.
The LLM is the brain doing the thinking.
AI Agent
The agent is the system that uses tools and reasoning to autonomously perform tasks within the LLM. It's what you actually interact with when you give it instructions.
The agent is the hands doing the work.
MCP (Model Context Protocol)
This is a standardized way to provide context to LLMs. What makes this exciting is you can connect multiple tools together in a standardized way.
For example, you can link Figma, Loom, and other tools into your AI workflow. This is a pretty big deal for designers who work across multiple platforms.
When to actually use AI prototyping
Despite the limitations today (November 2025), there are genuinely useful applications for this workflow.
Showing ideas to clients and stakeholders
This is where AI prototyping really shines.
Instead of saying "imagine this animates like this other example, but also with elements from this other thing," you can show an actual working prototype.
I can't tell you how many meetings I've sat in trying to explain an animation concept while people stare at me confused. Having a clickable prototype that demonstrates exactly what you mean changes those conversations completely.
Communicating with developers
Giving your engineering team a working prototype alongside your Figma file helps them understand what you're trying to achieve.
In a perfect world, we'll eventually be able to use some of the generated code directly. We're not quite there yet, but having that reference is still valuable.
User research and testing
This is where I'm most excited about the potential.
Being able to create robust, clickable prototypes much faster means you can test multiple concepts more efficiently. Instead of spending days connecting noodles for an A/B test, you can have working prototypes in hours.
We haven't fully integrated this into our user research process yet, but it's on the horizon.
Before you jump in
A few things to consider before diving into AI prototyping
Talk to your development team
Understand how they're using AI in their workflow. There might be tools you can share across teams instead of everyone paying for separate subscriptions.
At Headway, we've had cross-functional meetings to discuss AI integration. We discovered some overlap where designers and developers could use the same tools, which saved money and made collaboration easier.
Ask a human to review the code
If you have access to developers or engineers, have them look at what the AI generates. They can tell you if it's efficient, if there are better approaches, or if something looks good but is actually problematic.
Start with tasks you dislike
I like designing. I like the creative problem-solving part. I don't want AI to do that for me.
But prototyping? Dragging noodles around? I genuinely dislike that part of the process.
Figure out which tasks in your workflow you'd be happy to offload. Those are the best candidates for AI automation.
Three AI prototyping tools I've tested
I've spent considerable time with three main tools: Figma Make, Cursor, and Claude Code. Each has different strengths depending on your technical comfort level and needs.
Note: These tools may be updated and improved by the time you read this.
Figma Make: The Designer-Friendly Option
Figma Make is built directly into Figma, which is its biggest advantage.

What makes it great for designers
- Already included if you're on a Professional, Organization, or Enterprise plan
- No additional expense to add to your tool stack
- Very easy to work with since it's designed for designers
- Leverages Claude 4.5 Sonnet (when I made the video 4.5 was not available yet)
- Also now leverages Gemini 3 (announced after video was made as well)
- Lets you export your design system for more accurate results
- Works with all your existing visual assets
The main limitation
It's pretty much web-only right now. Mobile design is possible but difficult and the results aren't as clean.
If you're primarily designing desktop experiences and already use Figma, this is probably your best starting point.
Cursor: The Intermediate Option
Cursor sits between designer-friendly and developer-focused tools.
What makes it interesting
- Real-time code editor where you can edit live
- Can connect to Figma MCP and other MCPs for more complex workflows
- User-friendly interface with split view (code on one side, preview on the other)
- Lets you choose from different LLMs (I used Claude 4.5 Sonnet)
- More control than Figma Make for those comfortable with code
The cost
$20/month for Pro or $40/month for Business plans.
This is good if you want more flexibility and don't mind working directly with HTML, CSS, and JavaScript. You don't need to be an expert coder, but basic familiarity helps.
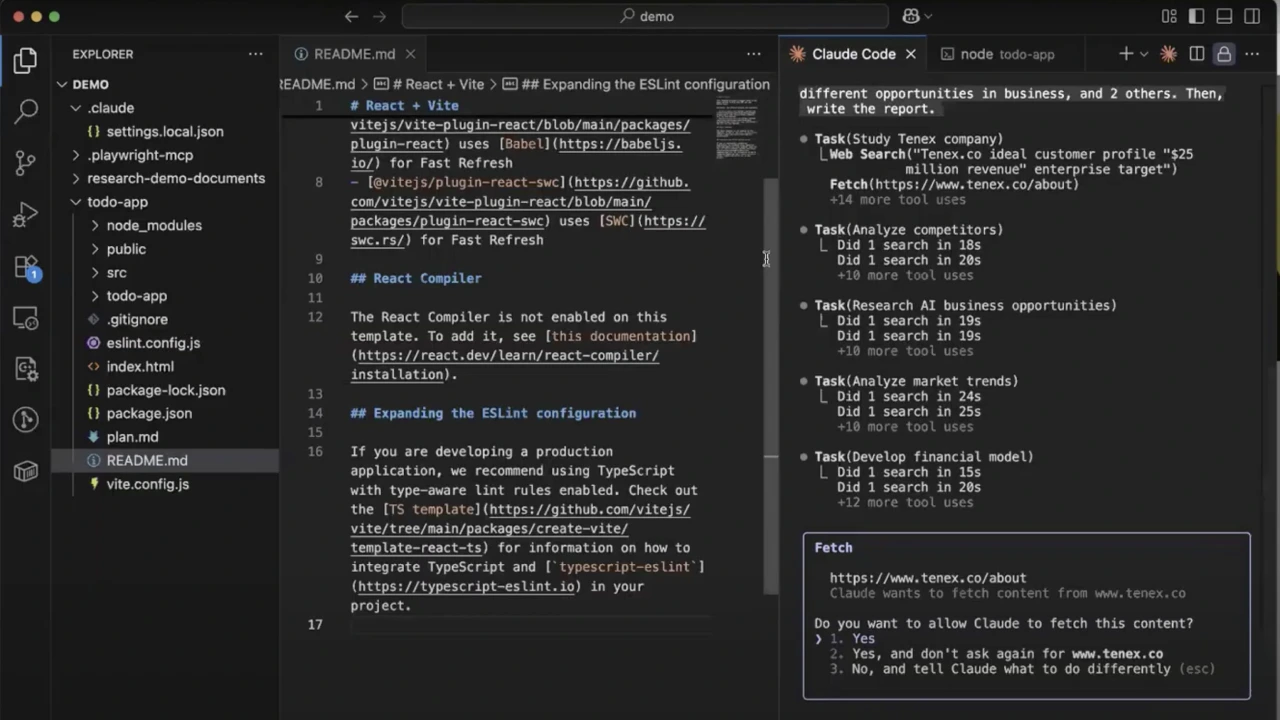
Claude Code: The Advanced Option
Claude Code is for power users who are comfortable in the terminal.
What makes it powerful
- Terminal-based with full developer capabilities
- Can handle multiple file operations at once
- Completely autonomous, can run multiple agents simultaneously
- Very robust for complex workflows
The barrier
If you're not comfortable working in the command line, this will be frustrating. I have a design background with some coding knowledge, and even I found the setup challenging compared to the other tools.
If you have an engineering background or work closely with developers who can help, this is worth exploring. But for most designers, it's probably overkill.
AI Prototype example with Figma Make
In the video in this article, I walk you through a real example of building a prototype with Figma Make.
I chose the Instacart search experience because I wanted to start with something that already existed. The problem I was solving wasn't "design a search interface from scratch." It was "prototype an existing design without spending hours connecting interactions."
What we're building
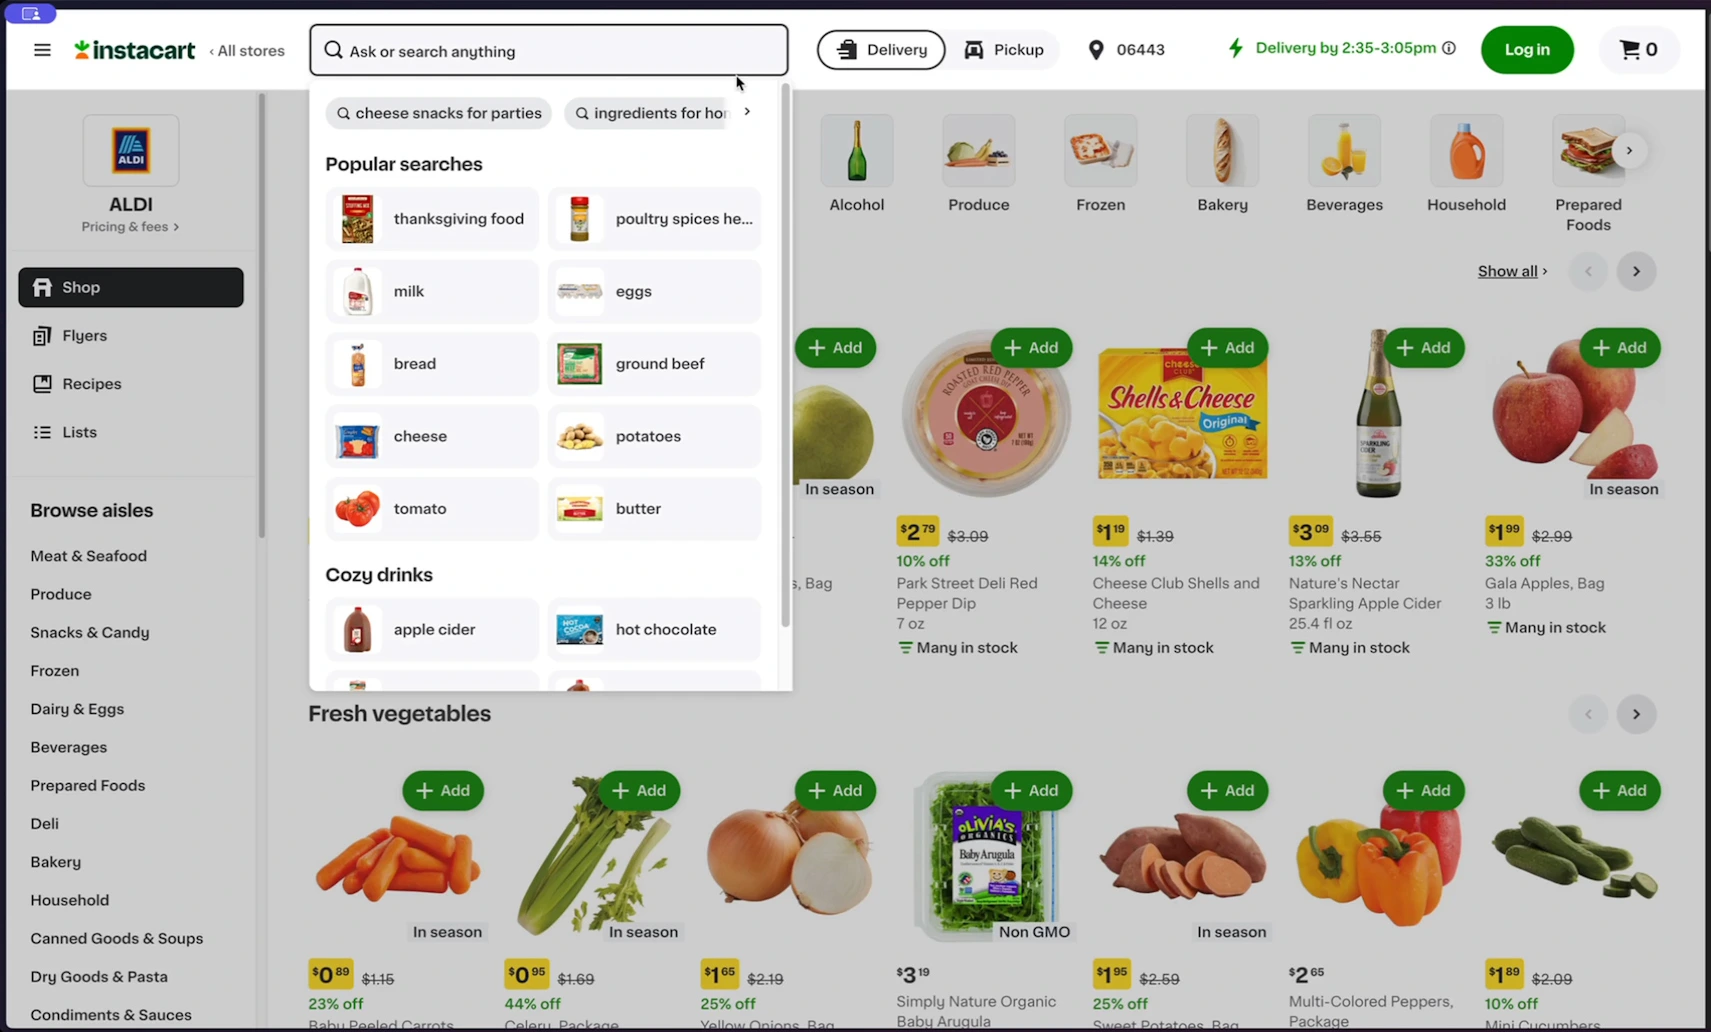
The Instacart search has several interactive elements
- Animated placeholder text that cycles through suggested searches
- A search modal that opens on click
- Scrollable category tags
- Hover states on category tiles with images
- A pickup/delivery toggle
All of this would normally require dozens of connections and interaction settings in traditional Figma prototyping.
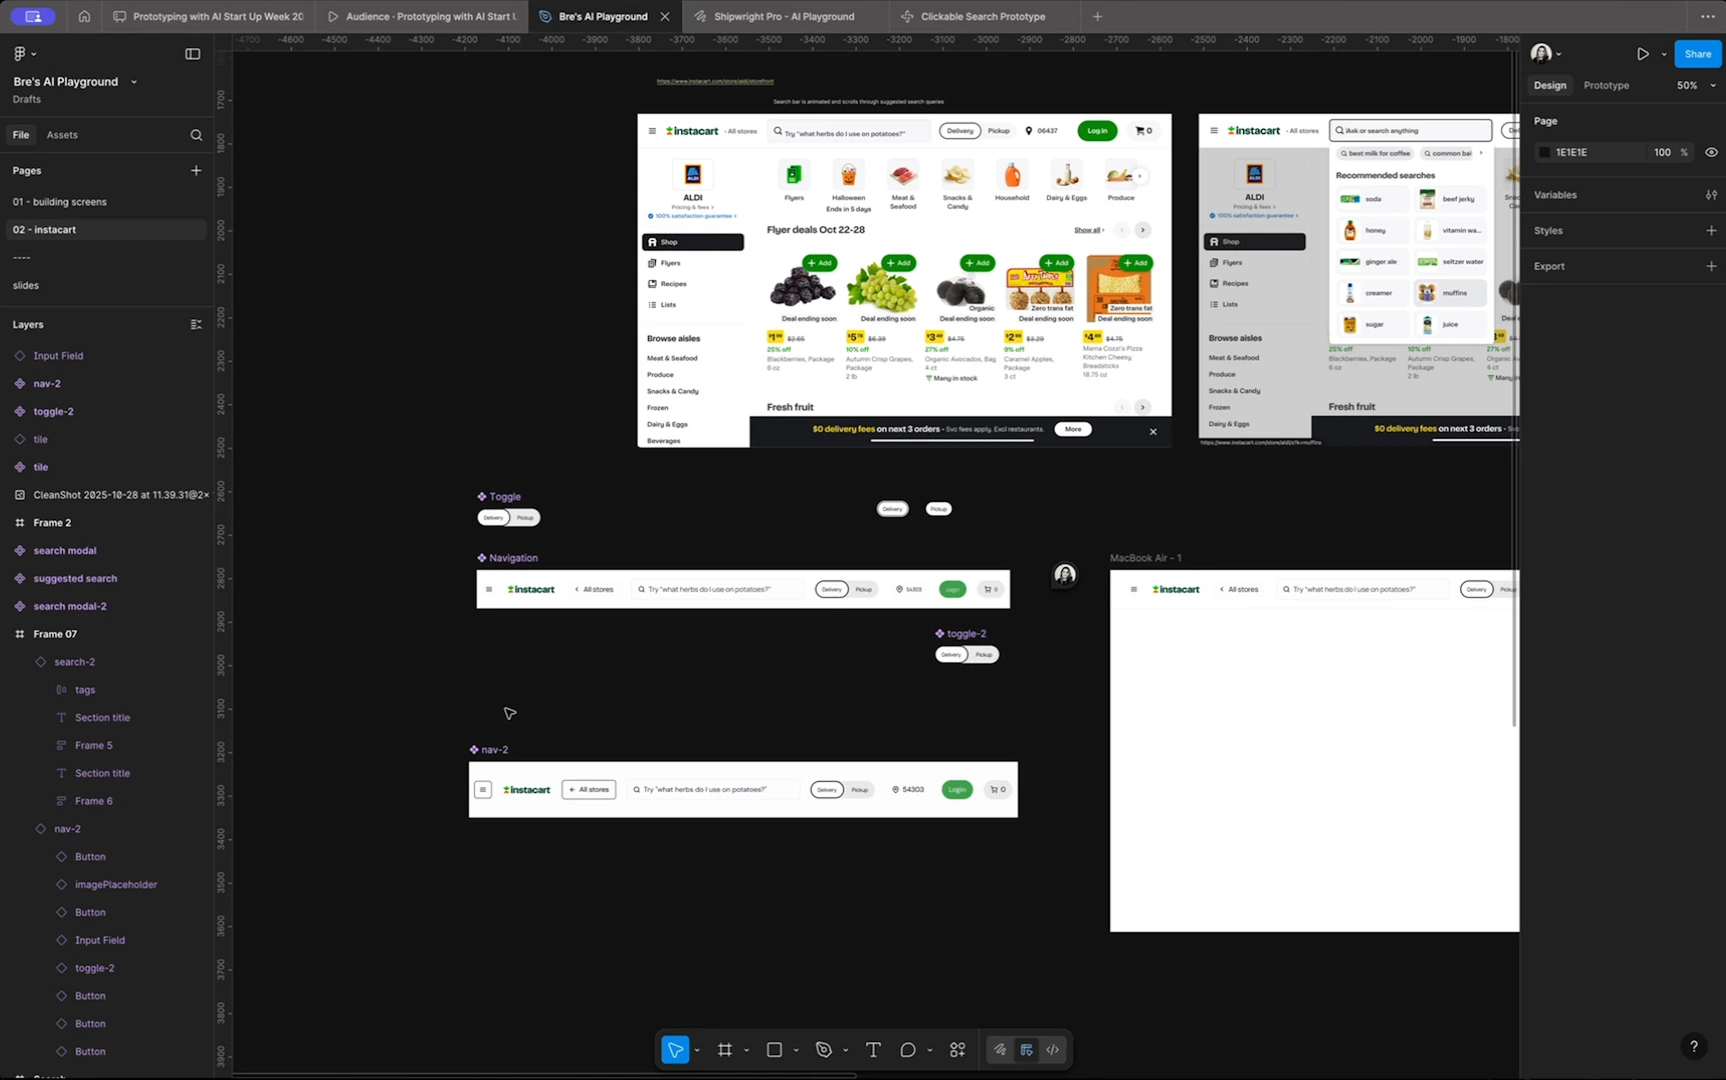
Step 1: Prep your Figma File
Before jumping into AI, you need your design built out properly.
Here's what I did
- Created mockups of the different states (search closed, search open, hover states)
- Built components using our design system (Shipwright Pro, available on Figma Community)
- Made sure everything used proper design tokens, spacing, and variables
Critical step: name your layers properly. Use Figma's "Rename Layers" AI tool to help, but check the results. I had to manually fix several layers that got generic names like "Frame 5."
Make sure
- All layers have descriptive names
- Components are connected to your design system
- Variables and tokens are properly linked
- Spacing and border radius use design system values
Step 2: Export your design system to Figma Make
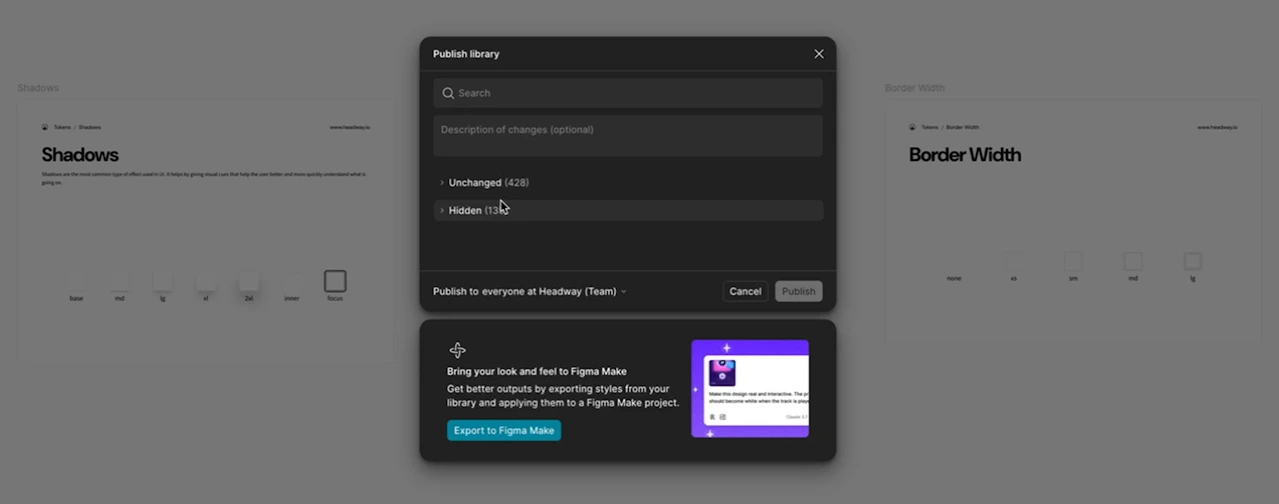
Go to your design system file (not your working file) and
- Make sure all changes are published or hidden
- Click Publish
- At the bottom, click "Export to Figma Make"
This takes a couple minutes. Once it's done, you can use those components in any Figma Make project without re-exporting.
Step 3: Start your prototype in Figma Make

In Figma Make
- Add your design system first by clicking on the open book icon
- Click the plus button to attach a design
- Copy the frame from your Figma file and paste it in
Important: You only need the final state of your design. Figma Make will fill in the intermediate steps based on your prompts. You don't need to create every single state.
Step 4: Craft your prompt
This is where the magic happens. Your prompt quality directly affects your results.
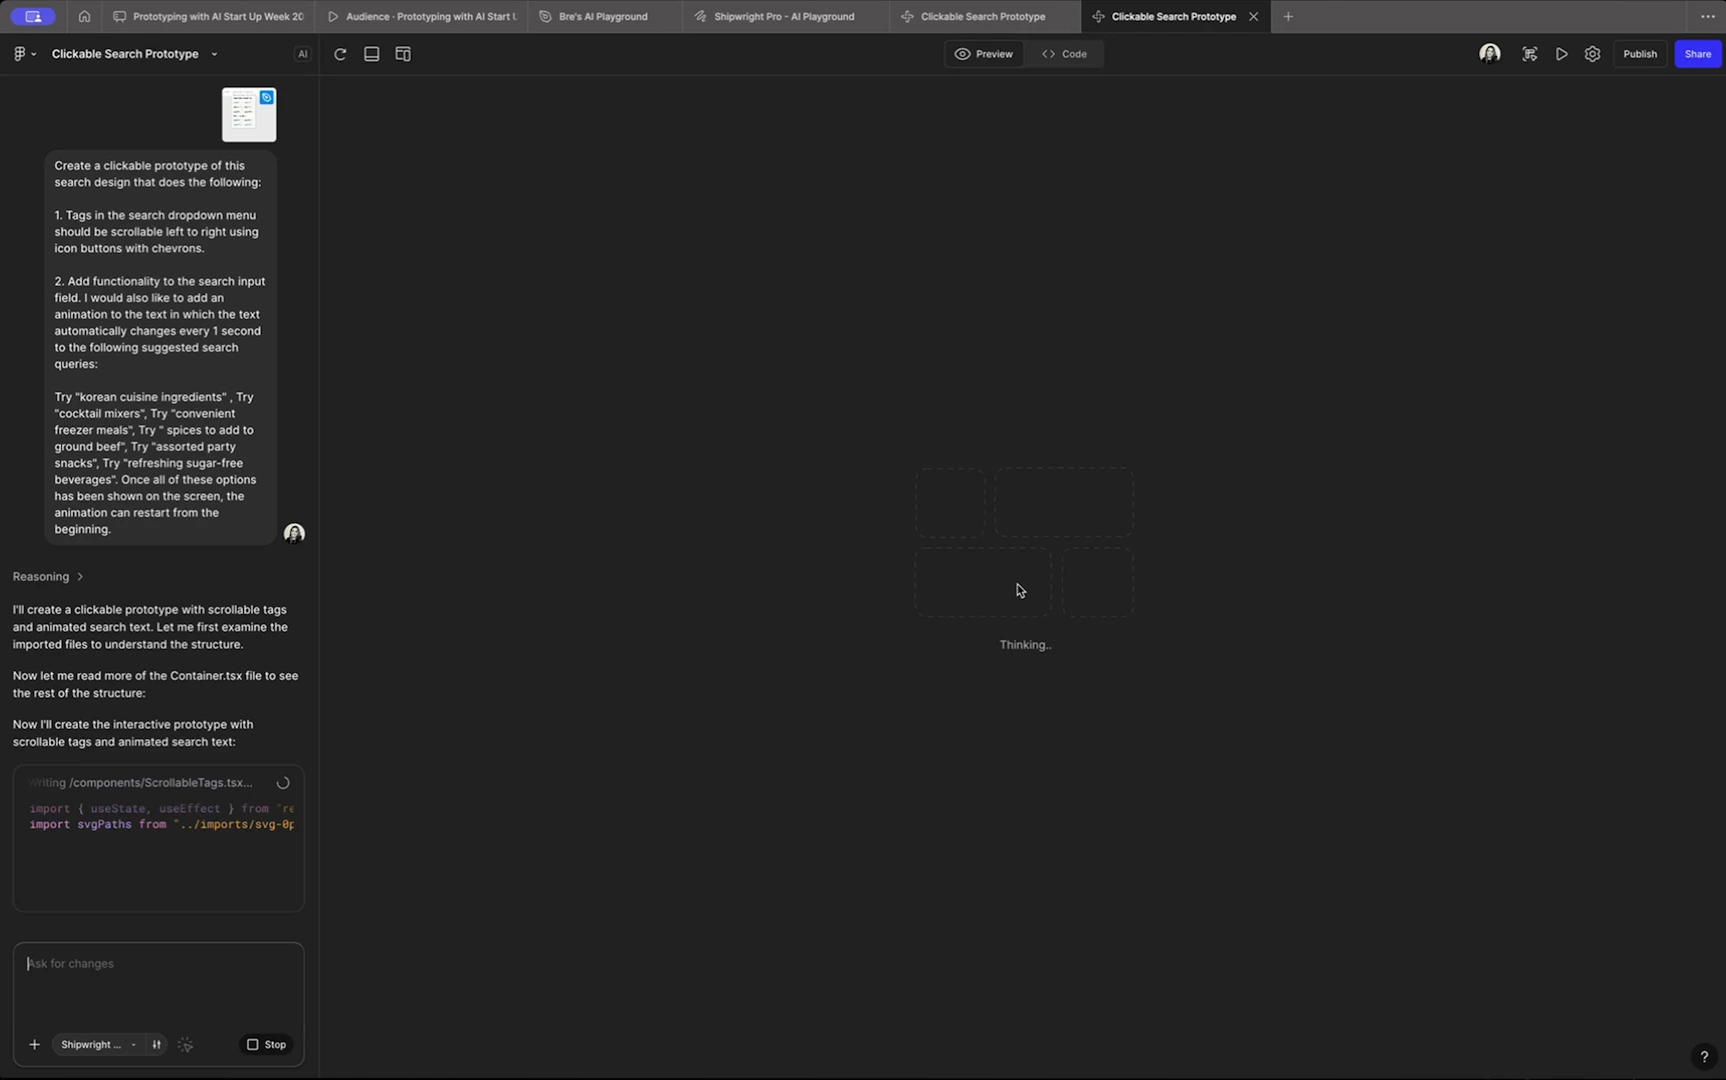
Here's how I structured mine
"Create a clickable prototype of the search design that does the following:
- Add functionality to the search input field
- Add an animation to the text in which the text automatically changes every 1 second with the following queries: [list of actual Instacart search terms]
- Once all options have been shown on screen, restart the animation from the beginning
- Create a scrollable menu with chevrons for the category tags
- Add hover states to the category tiles that display images"
Notice how specific this is. I'm not saying "make it interactive." I'm listing exactly what interactions I want and how they should behave.
Think of it like giving instructions to an intern or junior designer. Be clear and detailed.
Step 5: Review and refine
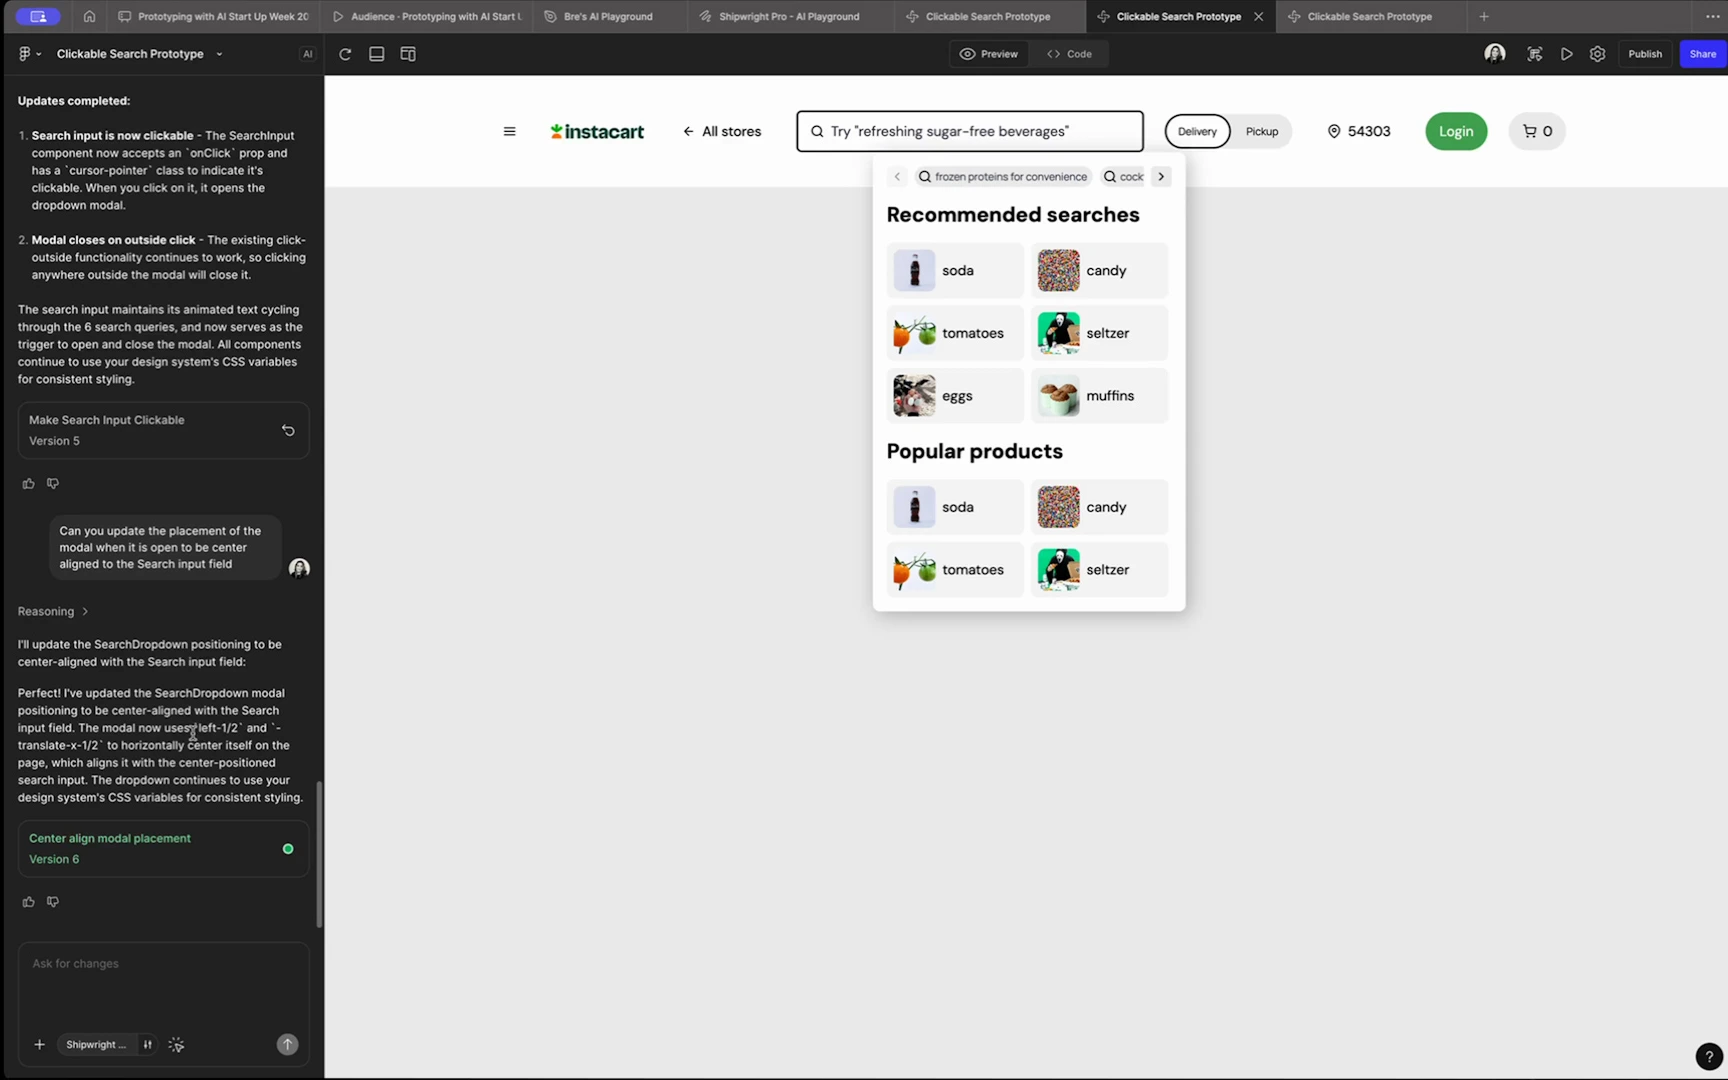
The first version came back with
- Working animation (success!)
- Scrollable menu (success!)
- Hover states (success!)
- Navigation not full width (needs fixing)
- Can't close the modal (needs fixing)
- Toggle not working (needs fixing)
This is normal. AI prototyping is iterative.
I sent another prompt
"Make the following updates:
- Fix the ability to close the modal by clicking outside of it
- Replace the placeholder images in tiles with images that reflect the category labels
- Adjust the search animation to slide upward instead of just changing text
- Fix the picker toggle to work properly"
Again, very specific instructions.
What I learned about prompting
After building this same prototype multiple times across different tools, here's what works:
1. Use lists
AI tends to structure information in lists anyway, so start there. Number your requests.
2. Be specific about behavior
Don't say "make it animated." Say "create a sliding animation that moves upward every 1 second."
3. Reference actual examples
I pulled real search terms from Instacart instead of making up generic ones.
4. Think like you're delegating
How would you explain this to a person on your team? Use that same clarity.
5. Check the work
AI makes mistakes. Sometimes it fixes one thing and breaks another. Review every iteration.
Honest limitations you need to know
Let me be real about what doesn't work well. But by the time you read this, some of these limitations may be improved. That’s the hope right?
It's not consistent
I built this exact same prototype three separate times and got different results each time. The core functionality worked, but the details varied.
This isn't necessarily bad, but you can't expect identical results from identical prompts. There's variability in how the AI interprets instructions.
Mobile design is rough
Almost all AI prototyping tools are heavily biased toward web/desktop experiences right now. If you primarily design mobile apps, you'll struggle.
Hopefully this improves soon since mobile is a huge part of design work, but for now, set your expectations accordingly.
Code quality is unknown
If you're not a developer, you can't easily tell if the generated code is clean and efficient. It might look like it works perfectly but be heavyweight or inefficient under the hood.
Before using AI-generated prototypes for user testing or sharing with stakeholders, have a developer review the code if possible.
Some things just break
In my live demo, the toggle worked perfectly one time and completely broke another time with the same prompt. The search modal opened great in one version and wouldn't open at all in another.
You'll need patience and willingness to iterate when things don't work.
The bottom line
AI prototyping isn't perfect. It has real limitations and won't work for every use case. But if you spend hours connecting interactions in Figma and wish that time could be spent on actual design work instead, it's worth exploring. Start with Figma Make if you're already using Figma.
Experiment with simple prototypes first. Get comfortable with prompting. Check your work carefully.
The technology is improving rapidly. What was difficult six months ago is easier now. What's limited to desktop today might work for mobile in a few months.
We're all figuring this out together. The key is finding where AI actually helps your process instead of just adding complexity.
For me, that's prototyping. For you, it might be something different.