Applying a client's brand to our design system used to take a full day, and it had to be done by the person who built the system. Now it takes two to four hours, any designer on the crew can run it, and it produces a full WCAG audit and change report on the way out.
Here's how we did it with Claude, Figma MCP, and a token architecture we already had.

The time we kept spending
We built Shipwright Pro, a custom design system, to eliminate starting from zero on every client project. But starting from Shipwright still meant a day or two of manually re-skinning tokens, swapping fonts, and checking contrast pairs before we could build anything.
The work itself was not hard. It was tedious, and tedious is where mistakes live. Hunting variable IDs. Getting the cascade order wrong and breaking components. Running WCAG checks by hand. Realizing mid-project that a palette ramp didn't have enough slots to carry all the required values.
We didn't need to design a better system. We needed to stop doing the parts that don't require design thinking at all.
Why Shipwright is automatable in the first place
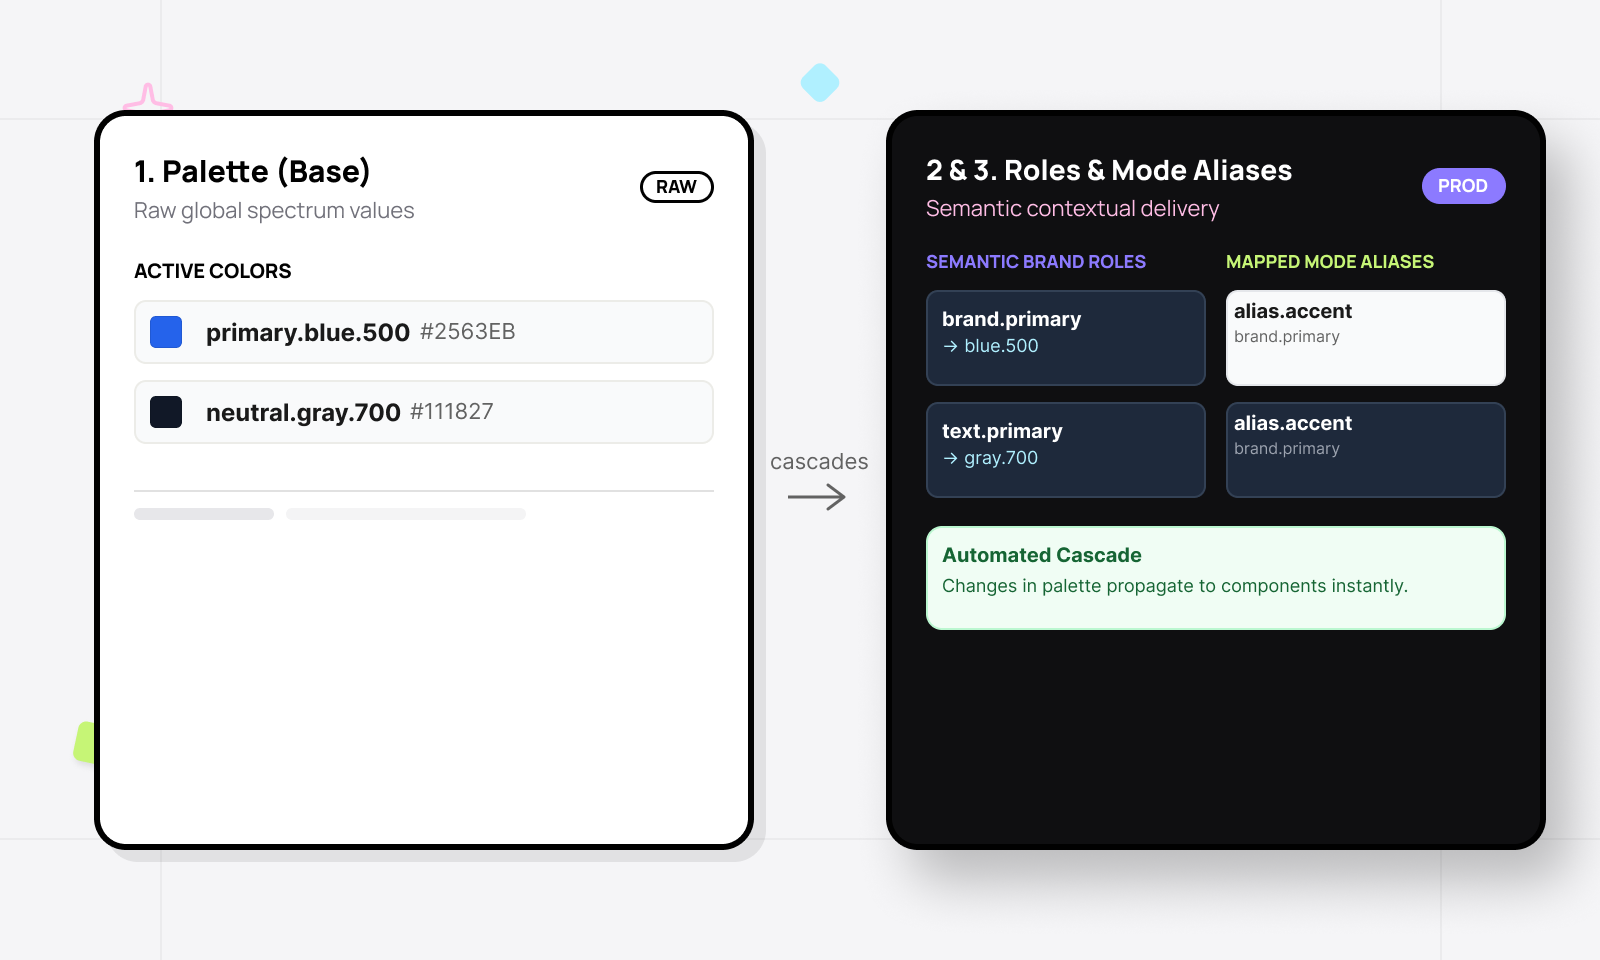
Shipwright is our base design system, 30+ components, built on a strict three-layer token architecture: Palette, then Brand Role, then Color Mode and Alias. Every client gets a fork.
That three-layer chain is the whole reason this works. Semantic color tokens never touch raw hex. They cascade. Change the Palette layer and the rest of the system updates correctly, in order, every time. If you want the ground-level version of how that structure gets built, we walked through it in setting up design tokens in Figma.
The chain also comes with a hard limit. The Neutral and Primary ramps have exactly seven slots each. When a client's brand carries more values than the ramps can hold, something has to go somewhere, and that leftover value is what we call an orphan. Orphans are not a bug. They're a constraint you design around, and they're the reason a human still has to be in the loop.
What we built: a style tile and four prompts
The style tile
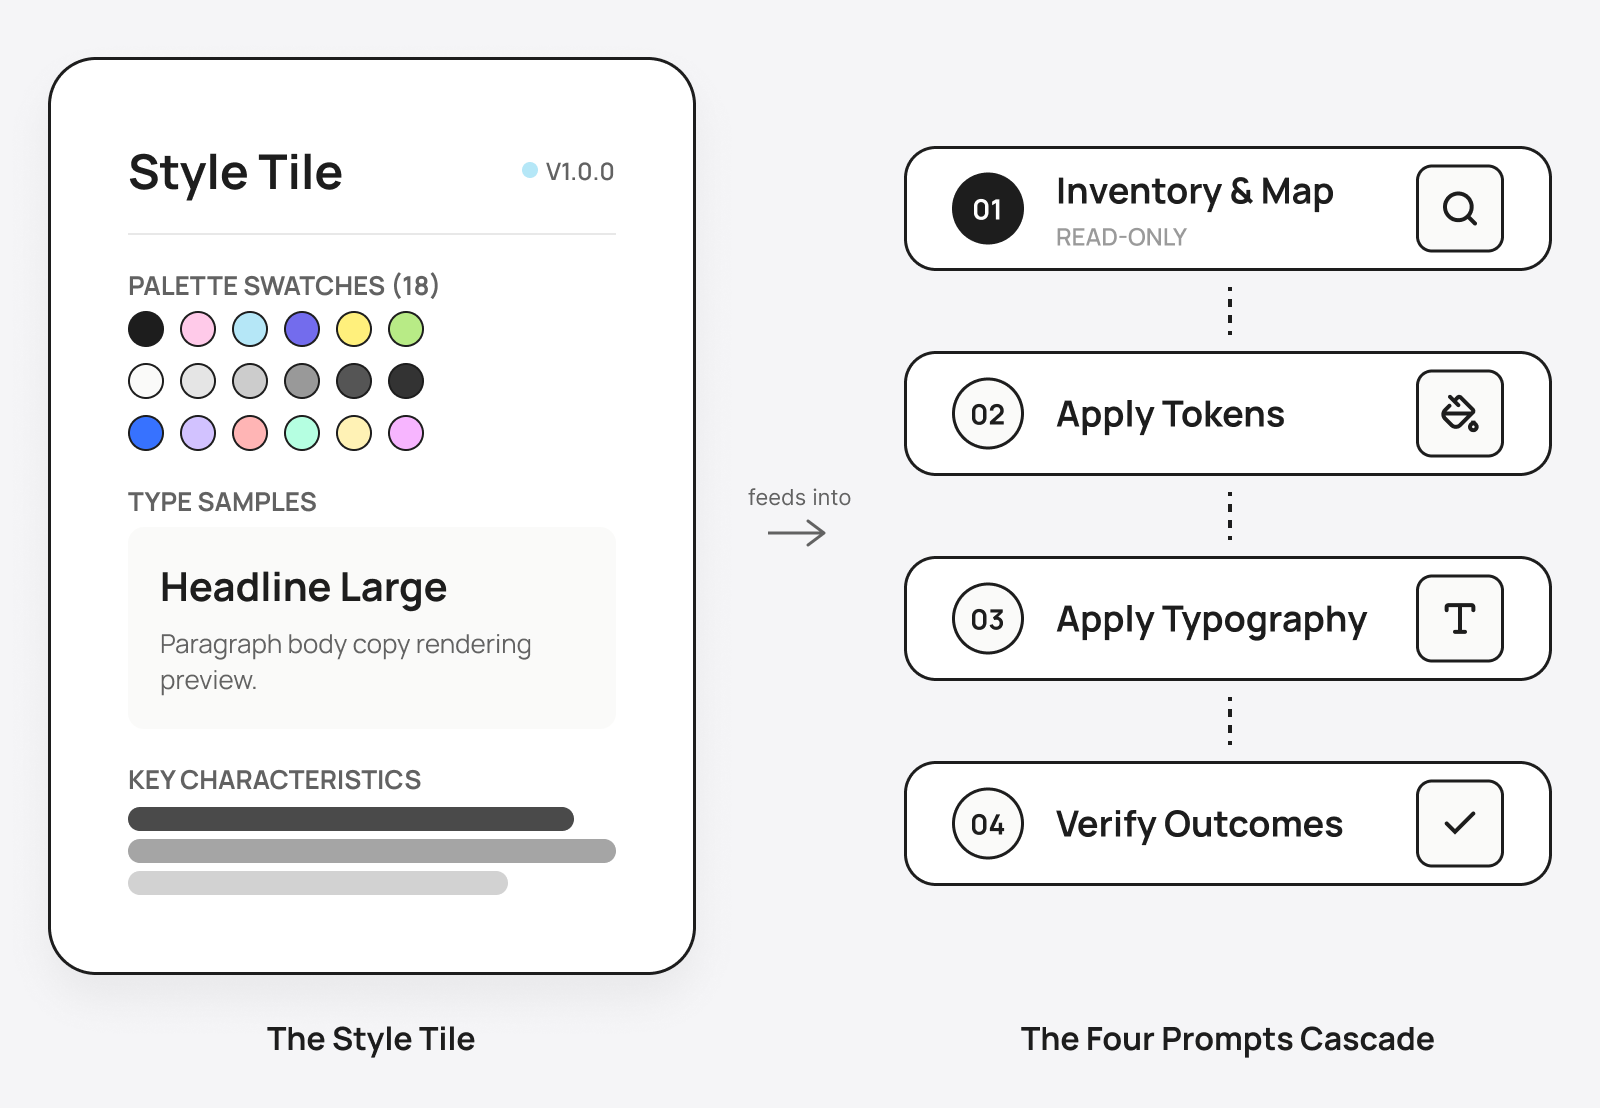
A structured Figma frame that acts as the single source of truth. Eighteen color swatches, type samples, and a Key Characteristics text block. Claude reads fill colors directly from the swatch frames, so there are no hex values typed as text and nothing to transcribe wrong.
The Key Characteristics block is the part that matters most. It's where we hand Claude the human decision before it writes anything.
The four prompts
Each one is a discrete step with a gate before the next runs:
- Inventory and map. Read-only.
- Apply tokens.
- Apply typography.
- Verify.
On a recent client build, a dusty rose and dark navy brand, that came out to 20 palette changes, 4 Brand Role re-points, and 8 Color Mode re-points. Claude caught that white text on the brand rose landed at 2.1:1, well under the 4.5:1 contrast minimum WCAG sets for body text, before a single component had been touched.
The output
A structured change report with full chain verification, WCAG ratios for every pairing, and a flagged list of orphans with proposed resolutions.
What Claude handles, and what we still decide
Claude reads the variable IDs, computes the correct execution order, cascades palette changes through the chain, runs the WCAG math, and identifies orphans before writing anything.
We decide whether a failing contrast ratio is acceptable. How to resolve an orphan when there aren't enough slots. Whether the client's brand primary should shift to pass WCAG, or whether dark text on the primary surface is the right call. And the style tile itself, which is the taste work.
Claude is an execution partner for the mechanical layer. The design judgment is still ours. We're just not spending it on work that doesn't need it.
Reading a design system programmatically is the same move we made when we built our own design system MCP to automate design handoffs. Different task, same premise. If the system is structured, an agent can work inside it.
What changed, and what we learned
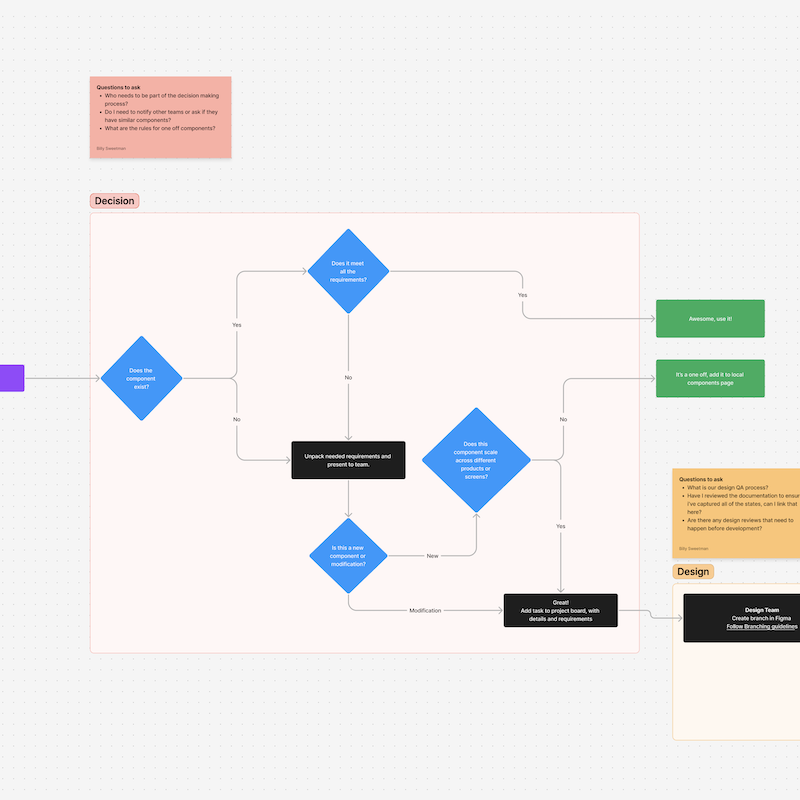
Before, brand application was a multi day task that required the person who built Shipwright, or a long onboarding for whoever was filling in. Error-prone. No built-in accessibility check. No documentation of what changed.
Now it's two to four hours including QA. Any designer on the crew who has read the SOP can run it. The process produces a change report and WCAG audit automatically, and orphans are documented before anything is written.
The bigger win wasn't the hours saved. It was that the work stopped depending on one person. Getting there is less about the prompts than about building a design team that can actually ship with AI, which is the harder and more durable problem.
A few things we'd tell anyone trying this:
The skill file is what makes it repeatable
The prompts alone aren't the system. We documented the process into an SOP in Notion and a Claude skill file that encodes the variable IDs, constraint rules, execution order, and WCAG pair list. That's what keeps the prompts lean and means the knowledge doesn't get re-explained on every run. It's the same reason documentation decides whether a design system stays useful long after launch.
Separating inventory from execution is non-negotiable
Running the read-only inventory as its own step, before any writes, prevented multiple mistakes. The temptation to skip the review and go straight to changes is real, but not recommended.
Where we're taking this
Next up is extending the same pattern to component documentation, where we already have a design-system-docs skill, and eventually to Webflow CMS setup for common content structures.
If you're an agency designer wondering where AI actually fits in your process, the honest answer is to start with the work that has rules. Tokens have rules. WCAG has rules. That's where the real gains are.
None of this works without the structure underneath it. If you want to know what that structure has to look like before an agent can touch it, start with our guide to design systems for AI agents, then find where yours sits in the 5 levels of an AI-ready design system. If you would rather not build that foundation on your own, it's the work we do.